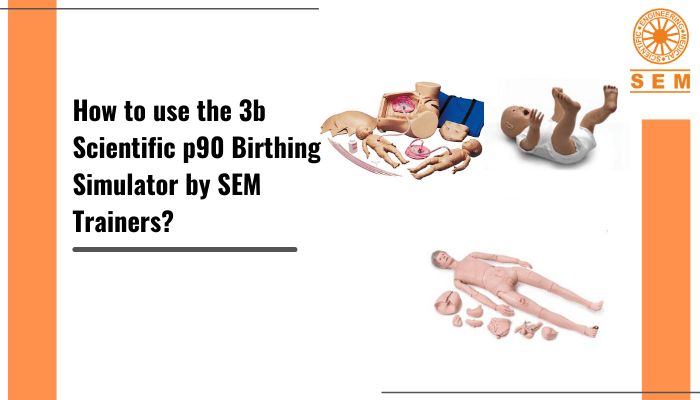
How to use the 3b Scientific p90 Birthing Simulator by SEM Trainers?

Once set up, the 3b Scientific p90 Birthing Simulator we provide is pretty easy to use for such a durable, lifelike simulator. When teaching learners about birth using demonstrations and exercises showing the different birth positions and a number of possible complications, here’s how to use the p90 birthing simulator:

Preparing for a Birth

  • Use enough lubricant for the cervix and vulva for the mother part of the simulator. For the baby, effectively lubricate the head, shoulder girdle, and middle back. This is an important step if you don’t want the baby to stick to the birth canal during the process.

Determining the position of the baby

  • Insert the uterus into the abdominal cavity from above. Since the simulator has an inflatable uterus, you can tell the baby’s position through the abdominal wall without the need for invasive measures. For example, you can use Leopold’s maneuvers to tell what position the baby is in.
  • Ensure that the locking pin on the uterus engages with the locking cylinder on the birth simulator.
  • The simulator can be used to simulate the birthing process for a variety of positions of the baby. Place the baby in the uterus in the position which was decided on for this particular simulation scenario.
  • With the pump, inflate the uterus, and keep doing it until you start to feel the baby’s body through the abdominal wall.

Delivery Presentation

  • Anterior occiput presentation: This is the normal birth position where the baby is head-down in the uterus with the back facing the mother’s left or her right. After adequately lubricating the baby’s head and upper body, place the baby into the simulator from the rear in the anterior occiput presentation.
  • Posterior occiput presentation: This delivery presentation is when the baby’s head faces the mother’s belly. After adequately lubricating the baby’s head and upper body, place it into the simulator with its face to the mother’s left or to her right.
  • Breech presentation: This is a tricky position since here, the baby is head up in the uterus. This includes the frank breech, footling breech, and kneeling breech presentations. After adequately lubricating the baby’s legs, buttocks, and lower back, place it into the simulator. If the baby is breech, you may need to apply extra pressure through the opening in the abdominal wall insert because it will be more difficult for it to pass through the birth canal. For frank breech, turn the baby’s legs up. For footling breech, bend the baby’s legs, and for kneeling breech, bend the baby’s legs to make it kneel/stand in the uterus. You can also put your finger in the baby’s mouth to stabilize and guide the head during breech delivery.

Securing the birth simulator

  • Place the birth simulator’s non-slip rubber feet on a table, bed, or anywhere where it won’t slip away.

The Birth Process

  • When you want to remove the uterus and the baby (or change the baby’s position), push and hold the button for the release valve to let the air out until enough air has escaped for the baby to be able to be moved.

Contractions

  • Look under the simulator for the handhold- hold onto this with one hand to keep the simulator in place during the simulation of birth. With your other hand, intermittently push the baby from the rear to the vulva. What this means is that you will have to push it through the uterus at small intervals to simulate the contractions.

C-Section

  • The abdominal insert in this simulator has a pre-assembled C-section opening (a pre-cut incision) for demonstrating and practicing C-section deliveries.

Cutting the umbilical cord

  • Finally, it’s time to cut the umbilical cord of the baby. Since the umbilical cord in the simulator is made from material that you can cut up to 5 times and use again, the simulator is cost-effective. Cut the umbilical cord at a distance of around 10 cm from the baby’s body.

This simulator can also be used to practice various maneuvers like Pinard’s maneuver, Mauriceu-Smellie-Veit maneuver, Prague maneuver, and Woods maneuver.

It also helps demonstrate and practice what to do for frequent complications like shoulder dystocia, obstruction by the pubic bone, obstruction by the pelvic floor, placenta previa, presentation of the umbilical cord, umbilical cord prolapse, looping of the umbilical cord, unruptured amniotic sac, and adherent placenta parts.

Cleaning and Care

It’s easy to clean the 3B Scientific p90 birthing simulator- just use a damp cloth on the surfaces and rinse the removable parts like vulva, cervix, and the fetus under running water. And then dry off all the parts before storing it away for next use.

Follow us on Social Media :

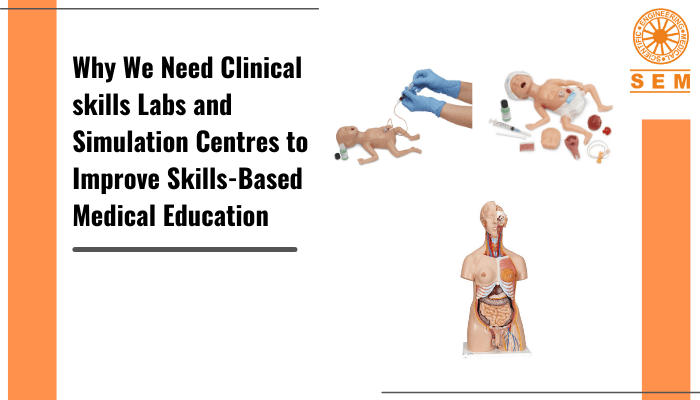
Why We Need Clinical skills Labs to Improve Skills Based Medical Education

Dexterity in various clinical skills such as examination, diagnostic reasoning, communication, and execution of clinical techniques is indispensable to the success of medical education paradigms. Over the years, the adoption of simulation-led training into the process has shown tremendous improvements in skill competency in the aspirants. By supplementing traditional learning approaches with simulation-led training, learners get hands-on experience along with diverse skill development and come out as confident, competent medical professionals able to handle the pressures of the real clinical setting.

Why do we need a Clinical Skills Lab or Simulation Centre?

Not only has there been a disproportionate increase in the number of students to that of trainers, the rapid advances in medical technology has made it harder for learners to receive optimal training through theory alone and reduced clinical skills standards among medical students. But for many reasons, it is not always possible to practice on real patients. Some of them may be clinically unstable, some may not be comfortable to be tended to by inexperienced learners, and for some, it might jeopardize patient safety and feel like a breach of their privacy.

What happens in a Clinical Skills Lab or Simulation Centre?

A clinical Skills Lab or Simulation Centre offers an immersive environment for healthcare professionals to develop clinical skills, communication skills, cognitive skills, and a compassionate approach to patient care. This is a controlled, safe, and forgiving environment for them to get hands-on experience for diverse scenarios. The experience provided by such a lab won’t be the same as practicing and learning on a real patient, but it’s the next best thing, benefitting novices and experts alike. And as they say, practice makes perfect.

These labs and centres usually, but not necessarily, have a reception area, skill studios, an ICU simulation room, an operation theatre simulation room, a pediatric ICU simulation room, AV facilities in the rooms, surgical simulation suites, ultrasound training rooms, seminar halls, a board room, faculty lounges, a student lounge, and necessities like storage, safety systems, and HVAC. Personnel in attendance may include a chief coordinator, supporting departmental staff, nursing staff, a receptionist, and a biomedical engineer.

With the help of state-of-the-art equipment, anatomic simulators, and sometimes, real actors, diverse scenarios and real life acute medical conditions can be simulated for students to learn and practice. Through these, they get to experience a hint of what kind of situations they can hope to expect when they transition to a real hospital. Additionally, it helps build the aforementioned skills in them.

Many of these high-fidelity simulators provide real-time feedback, but feedback is also offered through an instructor overseeing the scenario. The repeated practice also shortens their learning curve. By including aspects like bathroom spaces to simulate bathroom falls in the scenarios, the learning experience is made more realistic.

To complete the successful simulation experience, the participants are observed, analyzed, and debriefed on their thought processes and actions to improve their performance and learning outcomes. This is one of the most important aspects of simulation-led training.

Benefits of Clinical Skills Labs and Simulation Centres

Such a facility achieves the following:

  • It redefines medical education training and enables independent student learning
  • It delivers hands-on learning experiences
  • It accommodates the different learning requirements of students that come from different walks of life with various foundations, capabilities, and educational experiences
  • It increases preparedness in the learners before their transition to the real hospital setting, and it enables them to effectively deal with high-risk cases
  • It builds effective communication skills, cognitive skills, and psychomotor skills in the learners
  • It builds and highlights the role of collaboration and team building

Challenges to Establishing and Running Clinical Skills Labs and Simulation Centres

Given its obvious benefits to skill-based medical education, a clinical skills and simulation lab is an indispensable part of medical education for various positions today. But establishing and running such a lab comes with its own challenges.

From its beginning, setting up and running such a lab requires a hefty investment; this includes the cost of procurement and maintenance of simulators and their consumables, staff allowance, HVAC maintenance, and electricity bill, among others. Adjusting with the realism of the simulators is another challenge. Additionally, there are the challenges of time fixed for simulation training and teaching along with asset and resource availability and accessibility. There is the need to carefully balance time allotted for curriculum teaching and for simulation-based teaching.

Follow us on Social Media :

Sem Trainers & Systems