NMC Compliant Medical Manikins India: Complete 2026 Buyer’s Guide for Medical Colleges
NMC Compliant Medical Manikins India: Complete 2026 Buyer’s Guide for Medical Colleges
As medical education in India continues to evolve under the guidelines of the National Medical Commission, simulation-based learning is no longer an enhancement , it is a mandate.
For institutions establishing or upgrading skills laboratories, investing in NMC compliant medical manikins India has become central to regulatory compliance, academic excellence, and patient safety.
This 2026 buyer’s guide will help medical colleges understand:
- What qualifies as NMC compliant
- Which simulation equipment is essential
- How to select the right suppliers
- How to future-proof your skills lab infrastructure
What Does “NMC Compliant” Mean?
Under Competency-Based Medical Education (CBME), the NMC mandates structured skills labs to ensure students develop hands-on clinical competence before interacting with patients.
When we refer to NMC compliant medical manikins India, we mean simulation equipment that:
- Supports competencies defined by NMC curriculum
- Aligns with official medical college equipment requirements
- Enables structured skill training and OSCE-based assessment
- Is durable, serviceable, and audit-ready
- Includes documentation, SOPs, and faculty training support
Compliance is not about owning equipment, it is about operational readiness.
During inspections, institutions are evaluated not only on inventory but also on usage, maintenance, and competency mapping.
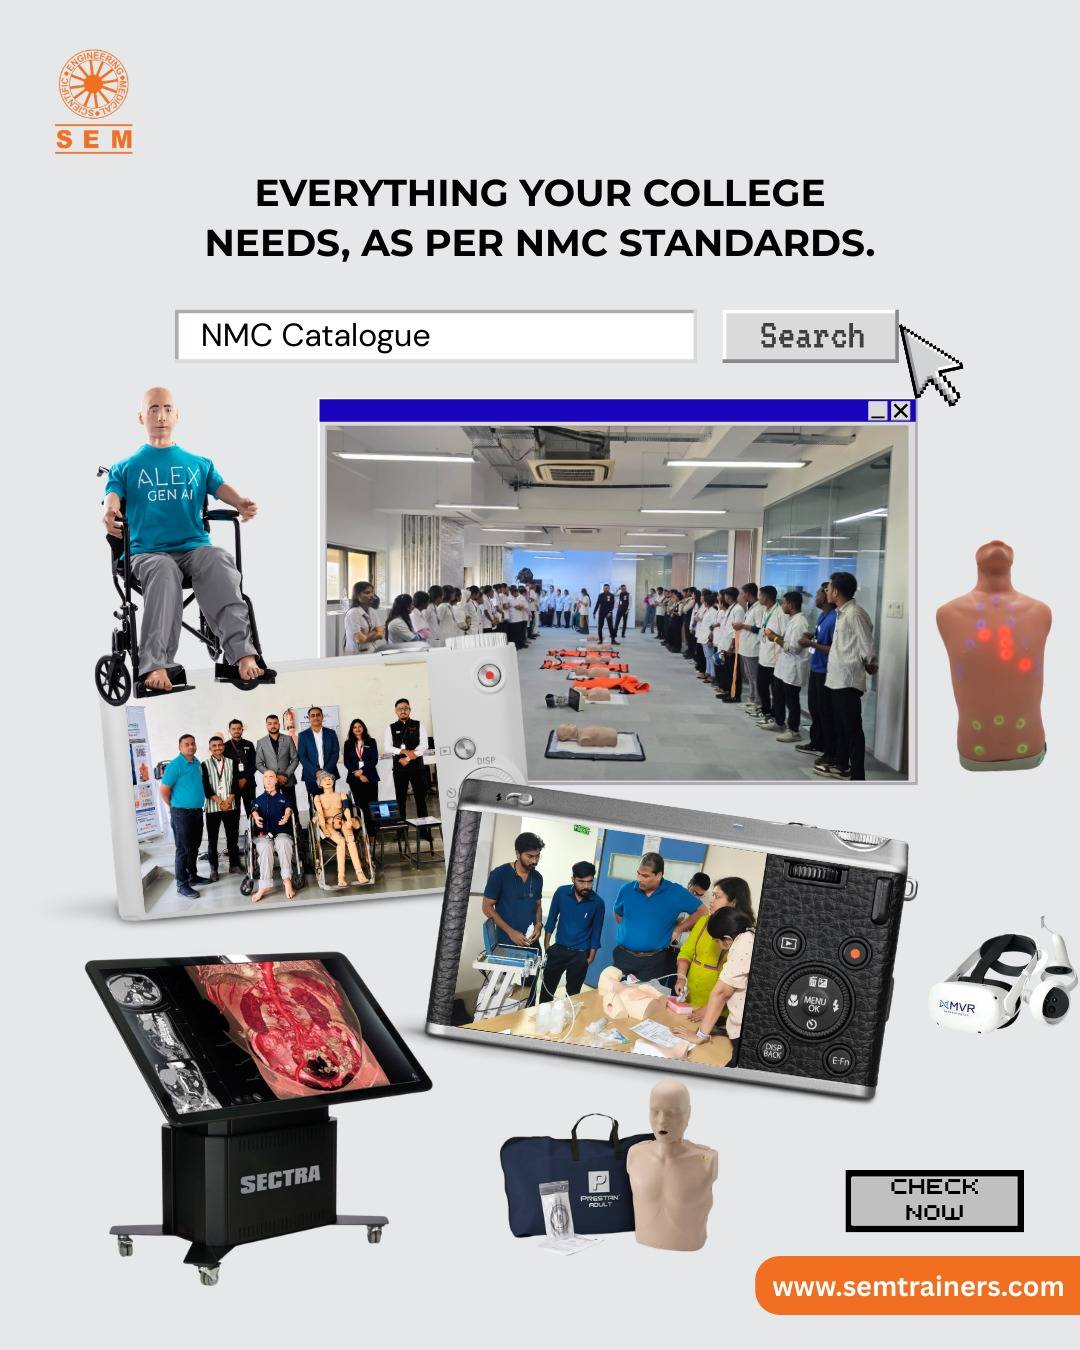
Core Simulation Equipment Required for NMC Skills Labs
While exact quantities vary based on intake capacity, most Indian medical colleges must include the following foundational categories:
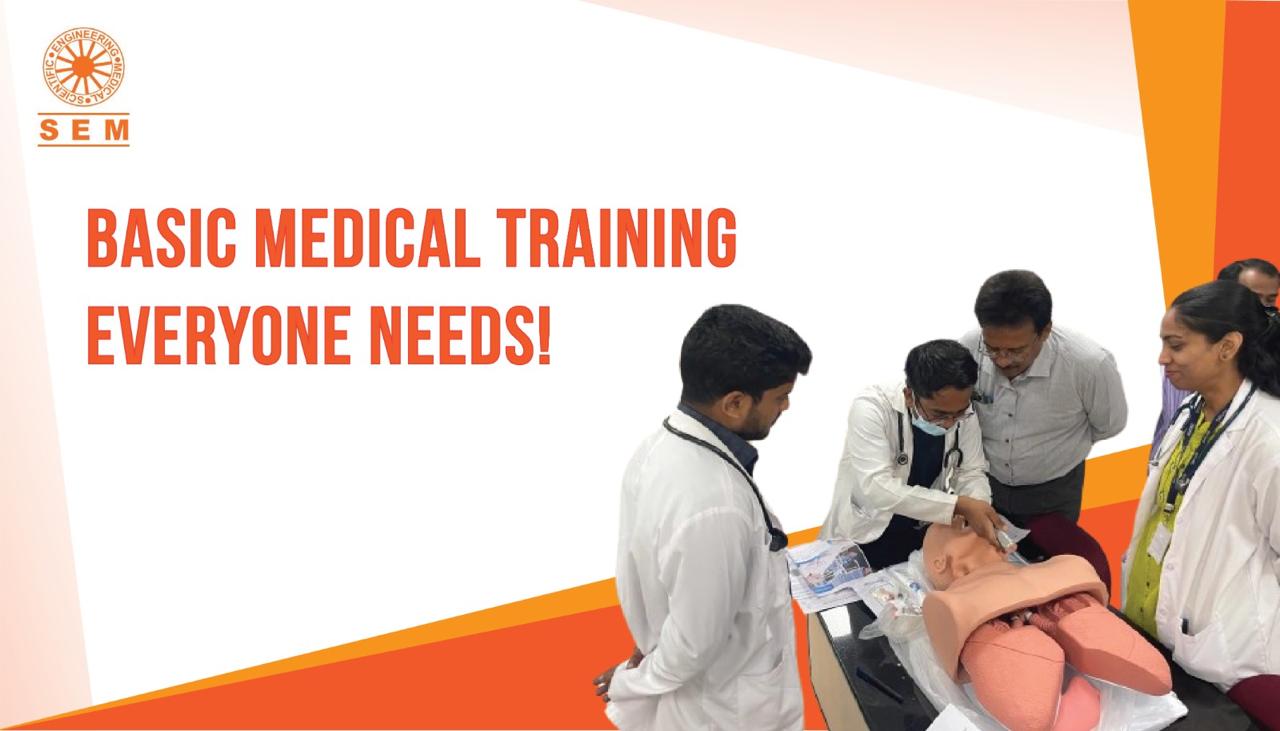
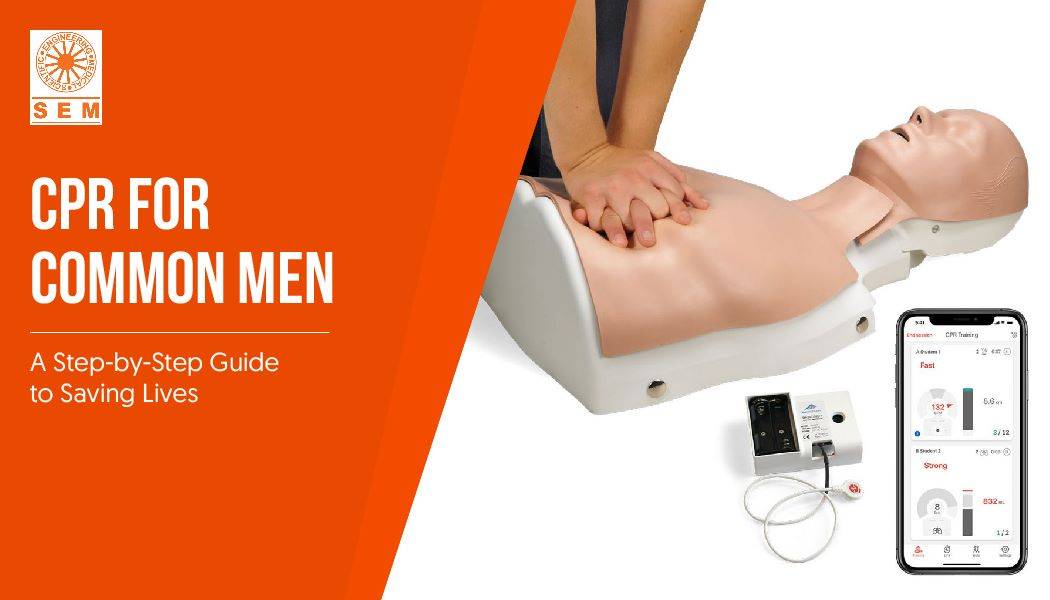
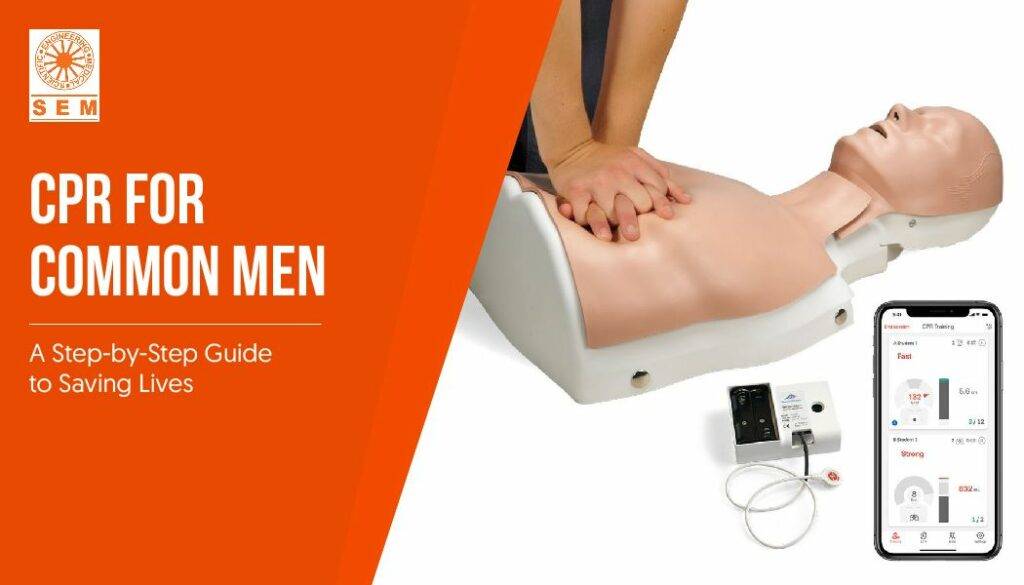
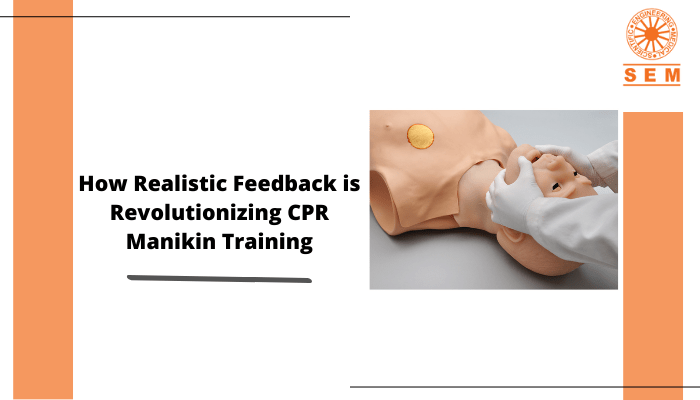
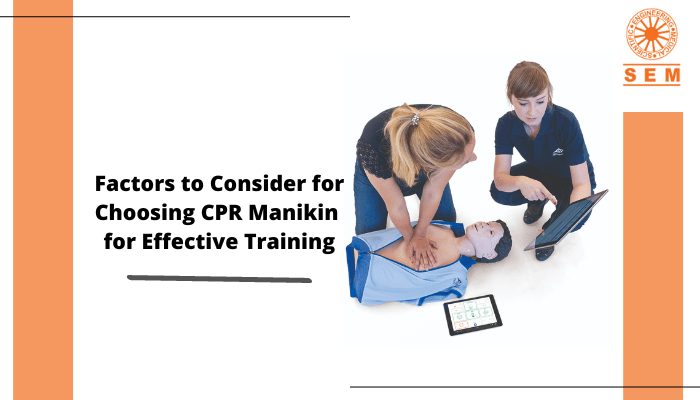
1. Basic Life Support (BLS) & CPR Trainers
Adult, child, and infant CPR manikins with compression feedback mechanisms are mandatory for emergency response competencies.
These trainers support:
- Cardiopulmonary resuscitation
- AED familiarization
- Team-based code blue drills
- Objective skill evaluation
2. Airway Management Trainers
Airway simulators allow repeated practice of:
- Endotracheal intubation
- Bag-valve mask ventilation
- Suction techniques
- Difficult airway scenarios
These are essential for emergency medicine and anesthesiology exposure.
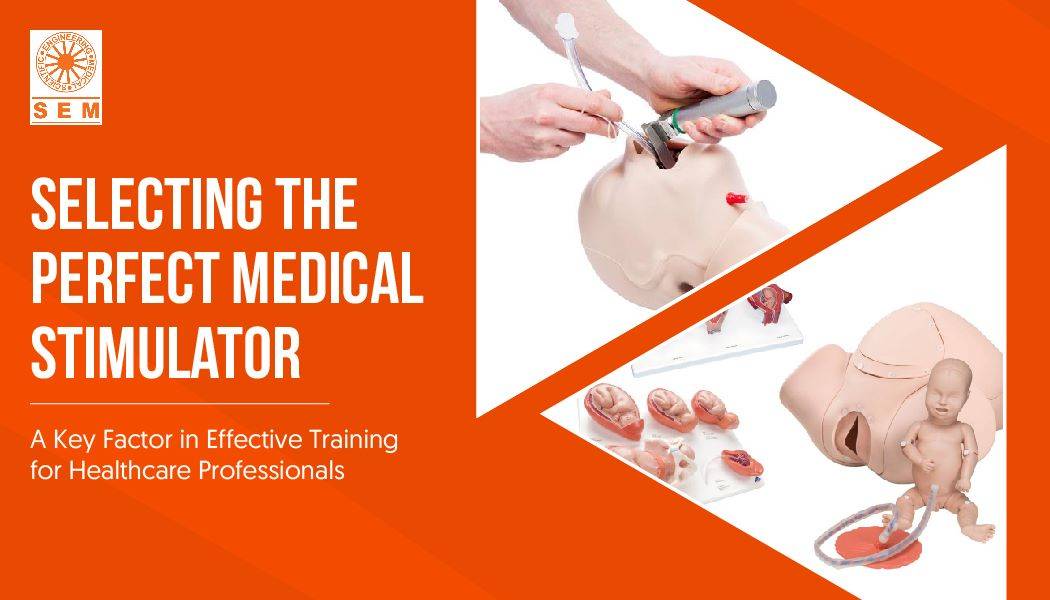
3. Obstetric & Neonatal Simulation Trainers
India’s public health priorities make obstetric and neonatal training critical.
Required trainers include:
- Normal delivery simulators
- Complicated labour management models
- Neonatal resuscitation trainers
These simulators directly support maternal and child health competencies under CBME.
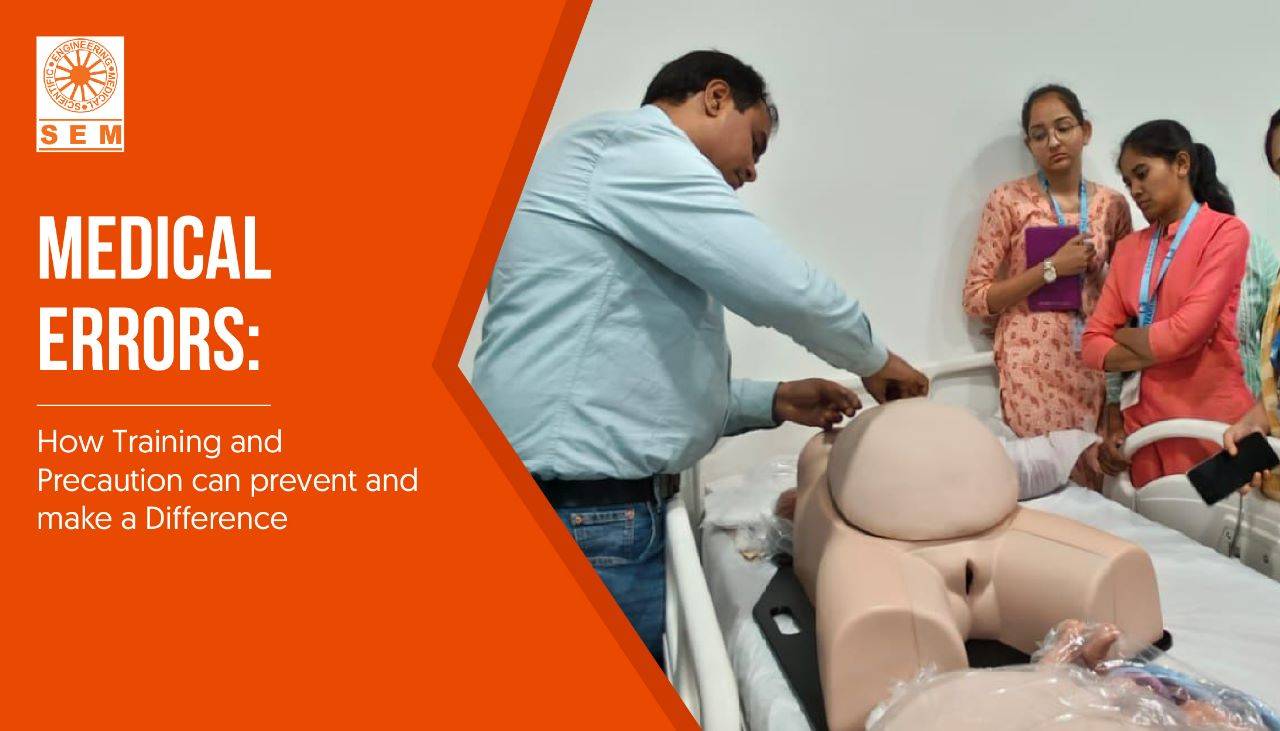
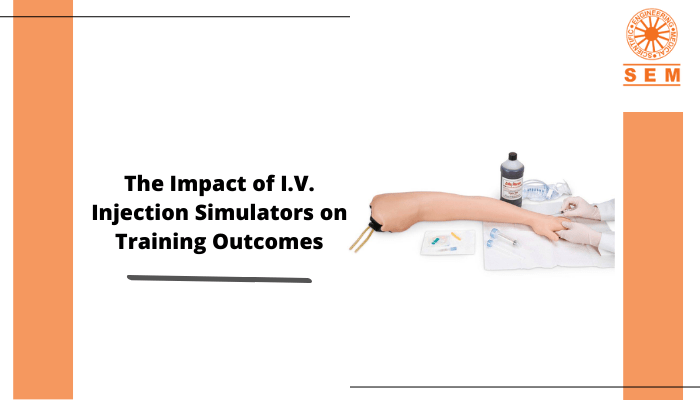
4. Procedural Skill Trainers
Repetitive hands-on practice is essential for clinical confidence.
Common procedural trainers include:
- IV cannulation arms
- Injection pads
- Suturing models
- Catheterization trainers
- Lumbar puncture simulators
Additionally, many institutions now integrate buy anatomical models for medical training online India solutions for anatomy correlation and demonstration-based teaching.
5. Advanced & High Fidelity Simulation Systems
High-acuity emergency and ICU scenarios require advanced systems capable of:
- Cardiac rhythm simulation
- Respiratory distress modeling
- Drug response simulation
- Real-time physiological feedback
- Team-based crisis training
High Fidelity Medical Simulators Suppliers in India: What to Look For
When evaluating high fidelity medical simulators suppliers in India, institutions should assess beyond product specifications.
Key considerations include:
1. Clinical Accuracy
Does the simulator replicate real-time physiological responses accurately?
2. Faculty Training Support
Does the supplier provide structured faculty development workshops?
3. Technical Service Network
Is there local service support in your region — including distributors in Gujarat, Maharashtra, Delhi, or South India?
4. Software & Scenario Updates
Does the system allow upgrades aligned with evolving curriculum requirements?
5. Integration with Virtual Reality Medical Training Equipment in India
Many modern labs now integrate virtual reality medical training equipment in India for immersive anatomy, emergency response drills, and surgical planning modules.
VR does not replace manikins, it enhances cognitive immersion before procedural execution.
Virtual Reality Medical Training Equipment in India: The Emerging Layer
Forward-thinking colleges are expanding simulation ecosystems with:
- VR anatomy modules
- AR-assisted procedural overlays
- Immersive emergency scenario training
- Remote simulation broadcasting
While NMC compliance focuses primarily on core skills labs, integrating virtual reality medical training equipment in India enhances:
- Cognitive rehearsal
- Pre-clinical conceptual clarity
- Surgical orientation
- Interdisciplinary simulation
Institutions aiming to position themselves as Centers of Excellence increasingly combine manikins, anatomical models, and immersive technologies.
Strategic Procurement Checklist for 2026
Choosing medical manikins should be a long-term academic decision — not just a tender process.
1. Curriculum Mapping First
Start with competency lists. Then identify equipment.
2. Plan for 5–7 Year Scalability
Student intake often increases. Choose modular systems.
3. Ensure Documentation Readiness
Maintain:
- Equipment SOPs
- Usage logs
- Maintenance records
- Faculty training certifications
Inspectors evaluate operational functionality.
4. Collaborate with Established Simulation Providers
Work with suppliers experienced in setting up complete skills labs across India — including institutions in Ahmedabad, Mumbai, Bengaluru, and other major academic hubs.
Conclusion: A Compliance Roadmap for 2026
Establishing a skills lab is not about purchasing equipment — it is about building a competency-driven learning ecosystem aligned with the standards of the National Medical Commission.
Medical colleges planning upgrades in 2026 should:
- Conduct a structured compliance audit
- Map simulation needs to curriculum
- Evaluate high fidelity medical simulators suppliers in India
- Integrate anatomical and virtual learning layers
- Develop a long-term expansion roadmap
The future of Indian medical education is simulation-driven, competency-focused, and technology-enhanced.
The institutions that prepare now will lead tomorrow.