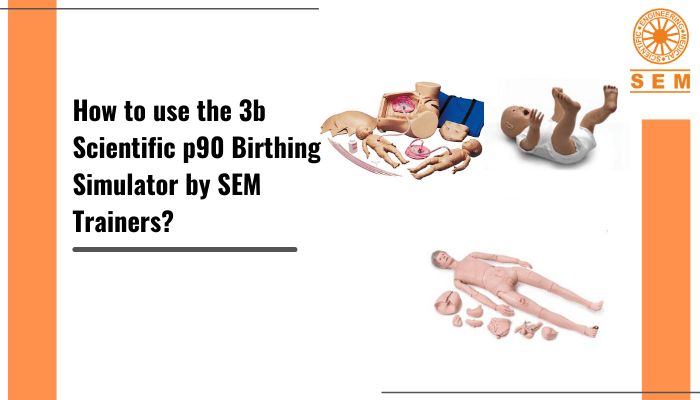
How to use the 3b Scientific p90 Birthing Simulator by SEM Trainers?

Once set up, the 3b Scientific p90 Birthing Simulator we provide is pretty easy to use for such a durable, lifelike simulator. When teaching learners about birth using demonstrations and exercises showing the different birth positions and a number of possible complications, here’s how to use the p90 birthing simulator:
Preparing for a Birth
- Use enough lubricant for the cervix and vulva for the mother part of the simulator. For the baby, effectively lubricate the head, shoulder girdle, and middle back. This is an important step if you don’t want the baby to stick to the birth canal during the process.
Determining the position of the baby
- Insert the uterus into the abdominal cavity from above. Since the simulator has an inflatable uterus, you can tell the baby’s position through the abdominal wall without the need for invasive measures. For example, you can use Leopold’s maneuvers to tell what position the baby is in.
- Ensure that the locking pin on the uterus engages with the locking cylinder on the birth simulator.
- The simulator can be used to simulate the birthing process for a variety of positions of the baby. Place the baby in the uterus in the position which was decided on for this particular simulation scenario.
- With the pump, inflate the uterus, and keep doing it until you start to feel the baby’s body through the abdominal wall.
Delivery Presentation
- Anterior occiput presentation: This is the normal birth position where the baby is head-down in the uterus with the back facing the mother’s left or her right. After adequately lubricating the baby’s head and upper body, place the baby into the simulator from the rear in the anterior occiput presentation.
- Posterior occiput presentation: This delivery presentation is when the baby’s head faces the mother’s belly. After adequately lubricating the baby’s head and upper body, place it into the simulator with its face to the mother’s left or to her right.
- Breech presentation: This is a tricky position since here, the baby is head up in the uterus. This includes the frank breech, footling breech, and kneeling breech presentations. After adequately lubricating the baby’s legs, buttocks, and lower back, place it into the simulator. If the baby is breech, you may need to apply extra pressure through the opening in the abdominal wall insert because it will be more difficult for it to pass through the birth canal. For frank breech, turn the baby’s legs up. For footling breech, bend the baby’s legs, and for kneeling breech, bend the baby’s legs to make it kneel/stand in the uterus. You can also put your finger in the baby’s mouth to stabilize and guide the head during breech delivery.
Securing the birth simulator
- Place the birth simulator’s non-slip rubber feet on a table, bed, or anywhere where it won’t slip away.
The Birth Process
- When you want to remove the uterus and the baby (or change the baby’s position), push and hold the button for the release valve to let the air out until enough air has escaped for the baby to be able to be moved.
Contractions
- Look under the simulator for the handhold- hold onto this with one hand to keep the simulator in place during the simulation of birth. With your other hand, intermittently push the baby from the rear to the vulva. What this means is that you will have to push it through the uterus at small intervals to simulate the contractions.
C-Section
- The abdominal insert in this simulator has a pre-assembled C-section opening (a pre-cut incision) for demonstrating and practicing C-section deliveries.
Cutting the umbilical cord
- Finally, it’s time to cut the umbilical cord of the baby. Since the umbilical cord in the simulator is made from material that you can cut up to 5 times and use again, the simulator is cost-effective. Cut the umbilical cord at a distance of around 10 cm from the baby’s body.
This simulator can also be used to practice various maneuvers like Pinard’s maneuver, Mauriceu-Smellie-Veit maneuver, Prague maneuver, and Woods maneuver.
It also helps demonstrate and practice what to do for frequent complications like shoulder dystocia, obstruction by the pubic bone, obstruction by the pelvic floor, placenta previa, presentation of the umbilical cord, umbilical cord prolapse, looping of the umbilical cord, unruptured amniotic sac, and adherent placenta parts.
Cleaning and Care
It’s easy to clean the 3B Scientific p90 birthing simulator- just use a damp cloth on the surfaces and rinse the removable parts like vulva, cervix, and the fetus under running water. And then dry off all the parts before storing it away for next use.
Follow us on Social Media :

